

Nature’s Engineers
Discover the fascinating world of biomimicry and explore how nature can inspire creative, sustainable solutions in architecture and inventions for our cities and communities.
In this workshop, your class will learn creative paper sculpting techniques to explore the shapes, structures, and characteristics found in nature. By applying scientific and design thinking, participants will explore ways to create biomimicry-inspired architecture.
Skills and Competencies
Learning Outcomes
Curriculum Links
Vital lifelong skills include curiosity, critical thinking, creative problem-solving, scientific and mathematical thinking, and engineering. Additionally, these skills encompass the ability to collaborate with diverse individuals.
Support the empowerment of aesthetic appreciation, increase resilience and aspiration, and build capacity for innovation and entrepreneurship.
Playing with the properties of shapes, directions and positions to make 3D paper sculpted shapes.
Working scientifically to understand living things, habitats, plants, and animals to investigate biomimicry.
Using materials, drawing, rubbing and sculptures to develop and share ideas, experiences and imagination
Using a range of materials to shape, join and cut to make prototype biomimicry-inspired ideas.
What is Biomimicry?
This section will introduce you to Biomimicry, why it is important and additional activities you can do with your class before diving deep into the main workshop.
Biomimicry is about learning from nature to solve the greatest design challenges to help not just humans, but all life on earth.
Biomimicry is not what we can take from nature (extract, harvest or domesticate), but to create solutions to problems from examples in nature. For example, looking at how a desert beetle uses its body position and small bumps to get water to design how we provide water in very dry places.
Introduce Biomimicry to your class
1. Ask your students what they think the word means
2. Explain the concept. Biomimicry = Bio (life) + Mimic (copy)
3. Use these cards (available in resources) to prompt thinking and set mini-challenges:
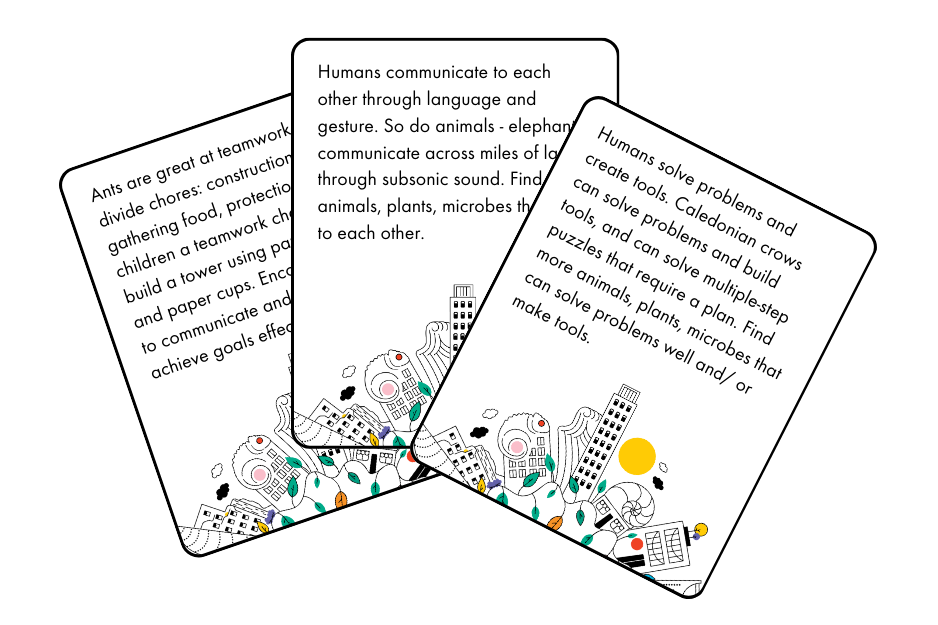
Biomimicry is about learning from (not just copying) living things
Biomimicry is about learning how all living things work and how we (humans, animals, microbes, plants) are connected to each other and the planet
Through biomimicry, we can learn how nature solves problems to create human technologies that are good for all life on earth
Why learn from nature?
The fast growing of the world’s population has created a great demand for land, energy and water. Nature is unable to renew the resources we need at the pace we require them. Unlike us, nature also does not create waste. Our actions are negatively impacting the planet – destroyed habitats, biodiversity loss, changing of climate.
By looking at and learning from nature we can change how we design and create solutions that are:
circular - they don’t create waste. For example, food packaging that disappears or can be eaten
sustainable - causes as little as possible or no damage to the environment. For example, sheep inspired laundry care
regenerative – can renew, regrow or restore, especially after being damaged. For example, bricks made from mycelium (root-like structure of fungi)
So they are better for the planet, people, animals, plants and microbes.
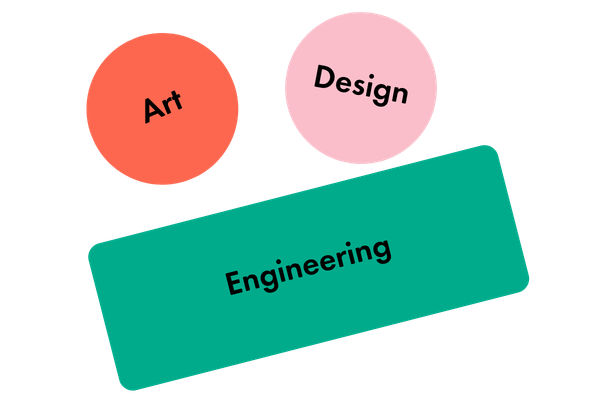
Biomimicry offers an interdisciplinary way to learn from nature and observe its complexity and interconnectedness.
Explore nature with your classroom
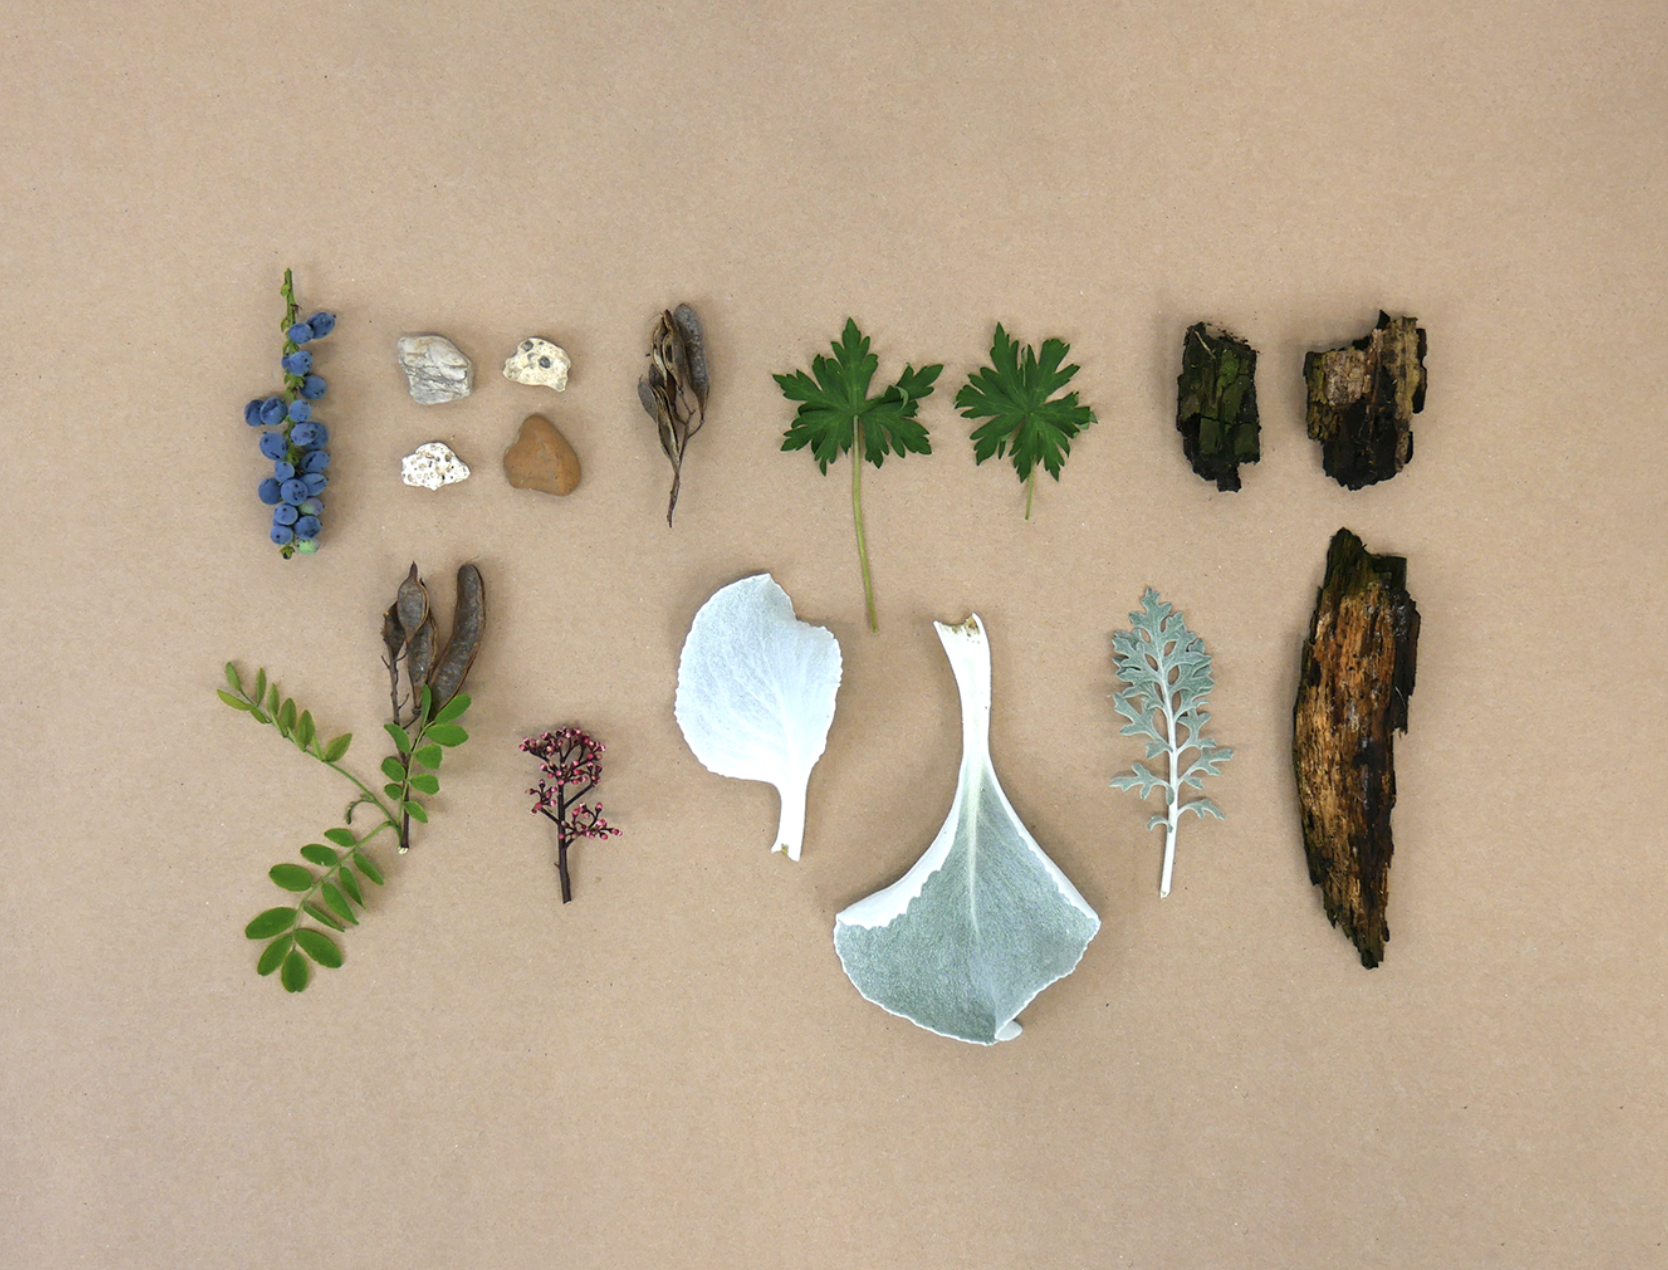
Go on a nature hunt! Look out for interesting plants, leaves, flowers, rocks or shells. Ask your students to use senses (other than sight) and use descriptive words to talk about pieces of nature. What do they feel/ smell like? How are their structures different?
You can use a magnifying glass, a digital microscope or a magnifying app to take an even closer look.
To collect inspiration, you can:
Take and print photos if you are using a phone or a tablet to get some close-ups
Create impressions of plants and surfaces in nature by placing a piece of paper on the top and rubbing it with crayons or charcoal
Use the images from Nature's Patterns Resource
To dive in deeper into a particular plant or a habitat (a seashell, a bird's nest, etc) use the Meeting Nature Resource and investigate the science behind it.
Biomimicry is about understanding nature’s functions (special skills), how they are used and how to use them.
Design is about creating and rethinking of ideas, what they look like, their function (purpose) and how they work. It is a possibility to imagine the world differently.

Why think about the future?
In Nature’s Engineers, we are designing places and spaces of the future. Dreaming about and thinking about the future can inspire us to think that things can be radically different than they are today.
Thinking about possible futures can be a tool to better understand the present and to discuss the kind of future we want and of course, what we don't want.
Mini-challenges for your classroom
Prompt cards
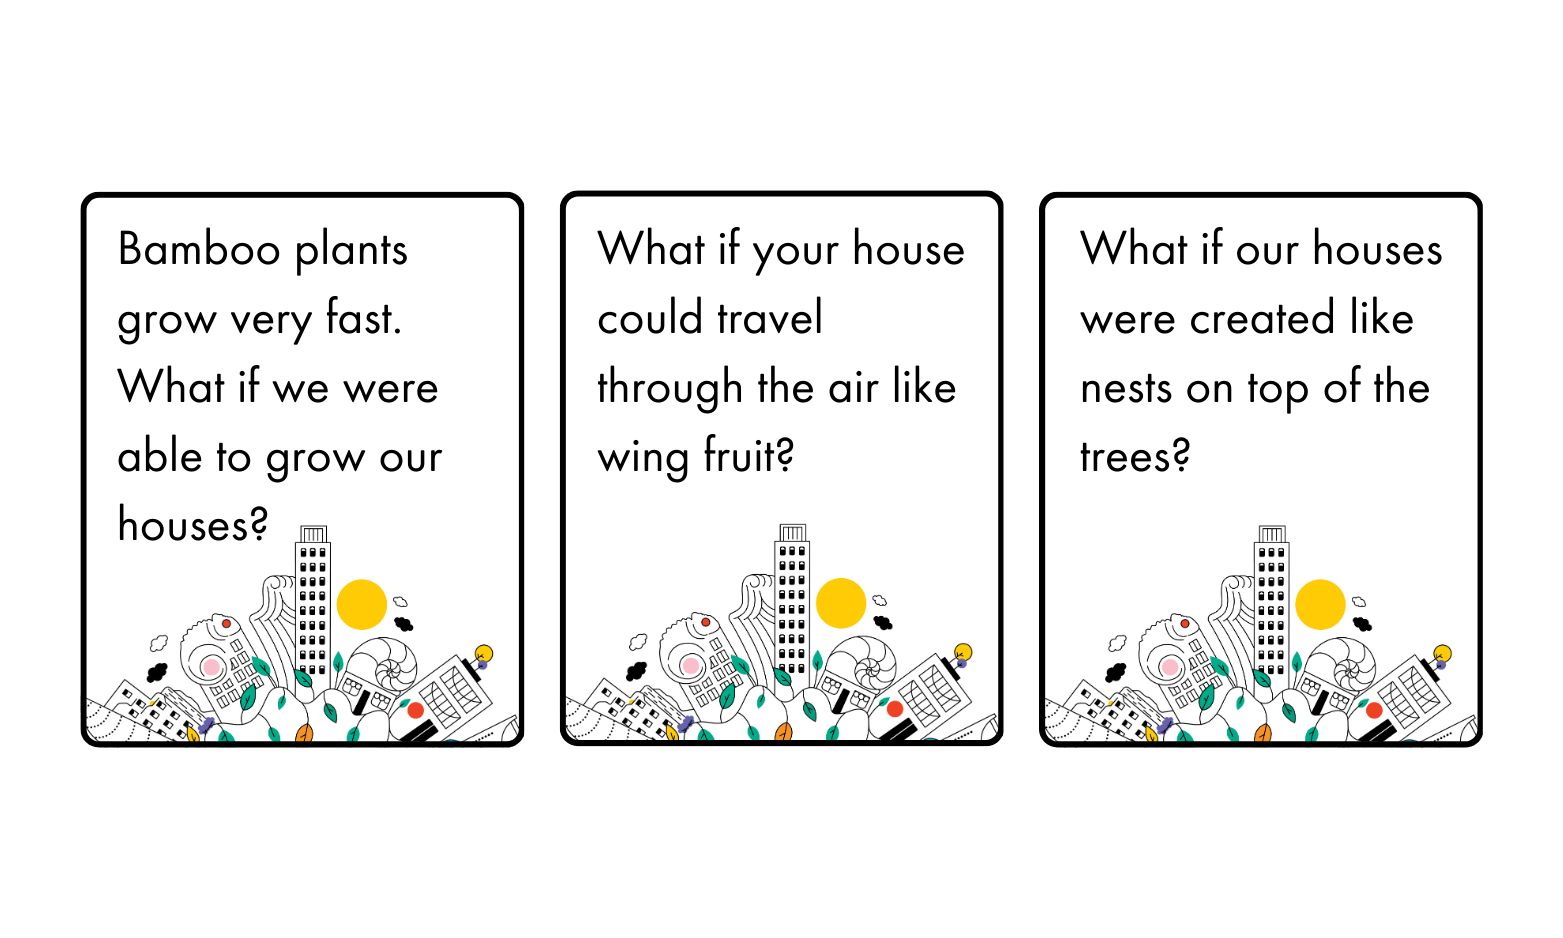
Use these prompts for your students to think critically and imaginatively about future places and spaces. Using the scenarios, ask your students to draw their inventions.
Building with Nature Resource
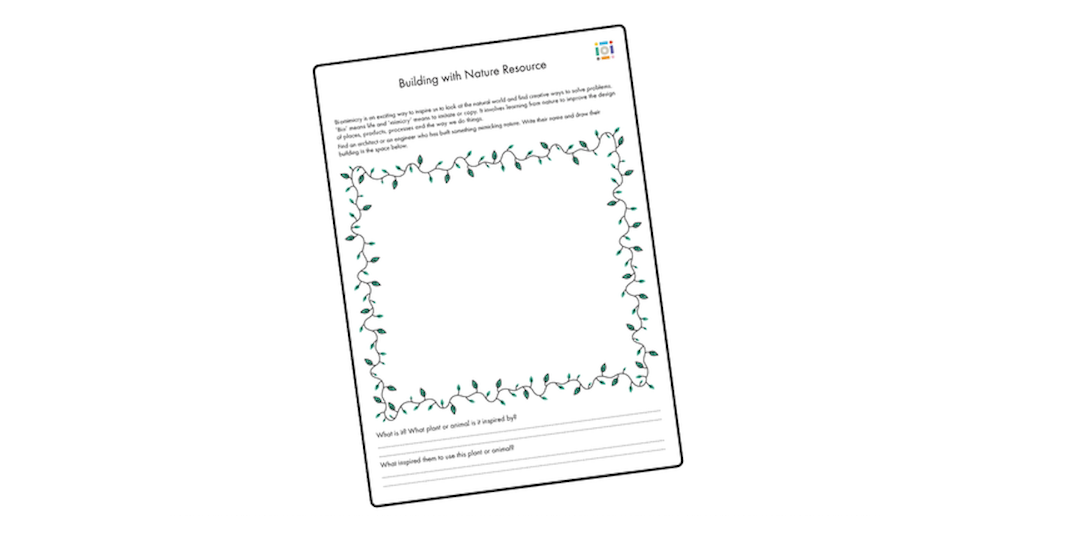
Using the resource, find an architect or an engineer who has built something mimicking nature. Dive in deeper and investigate what and how they have created it!
Think and analyse a building with your class
Take a building, for example, a home
What is its function? What does it do? It is to protect humans from the elements, to provide shelter and safety
How does it do that? With walls and a roof
How does nature protect something: a plant? an animal? a microbe? For example, the true rose of Jericho protects itself from drying out by furling and unfurling branches depending on water content
Can we rethink how a roof functions on a house, furling and unfurling to let in sunshine or protect from rain?
Workshop Essentials

iOi Challenge
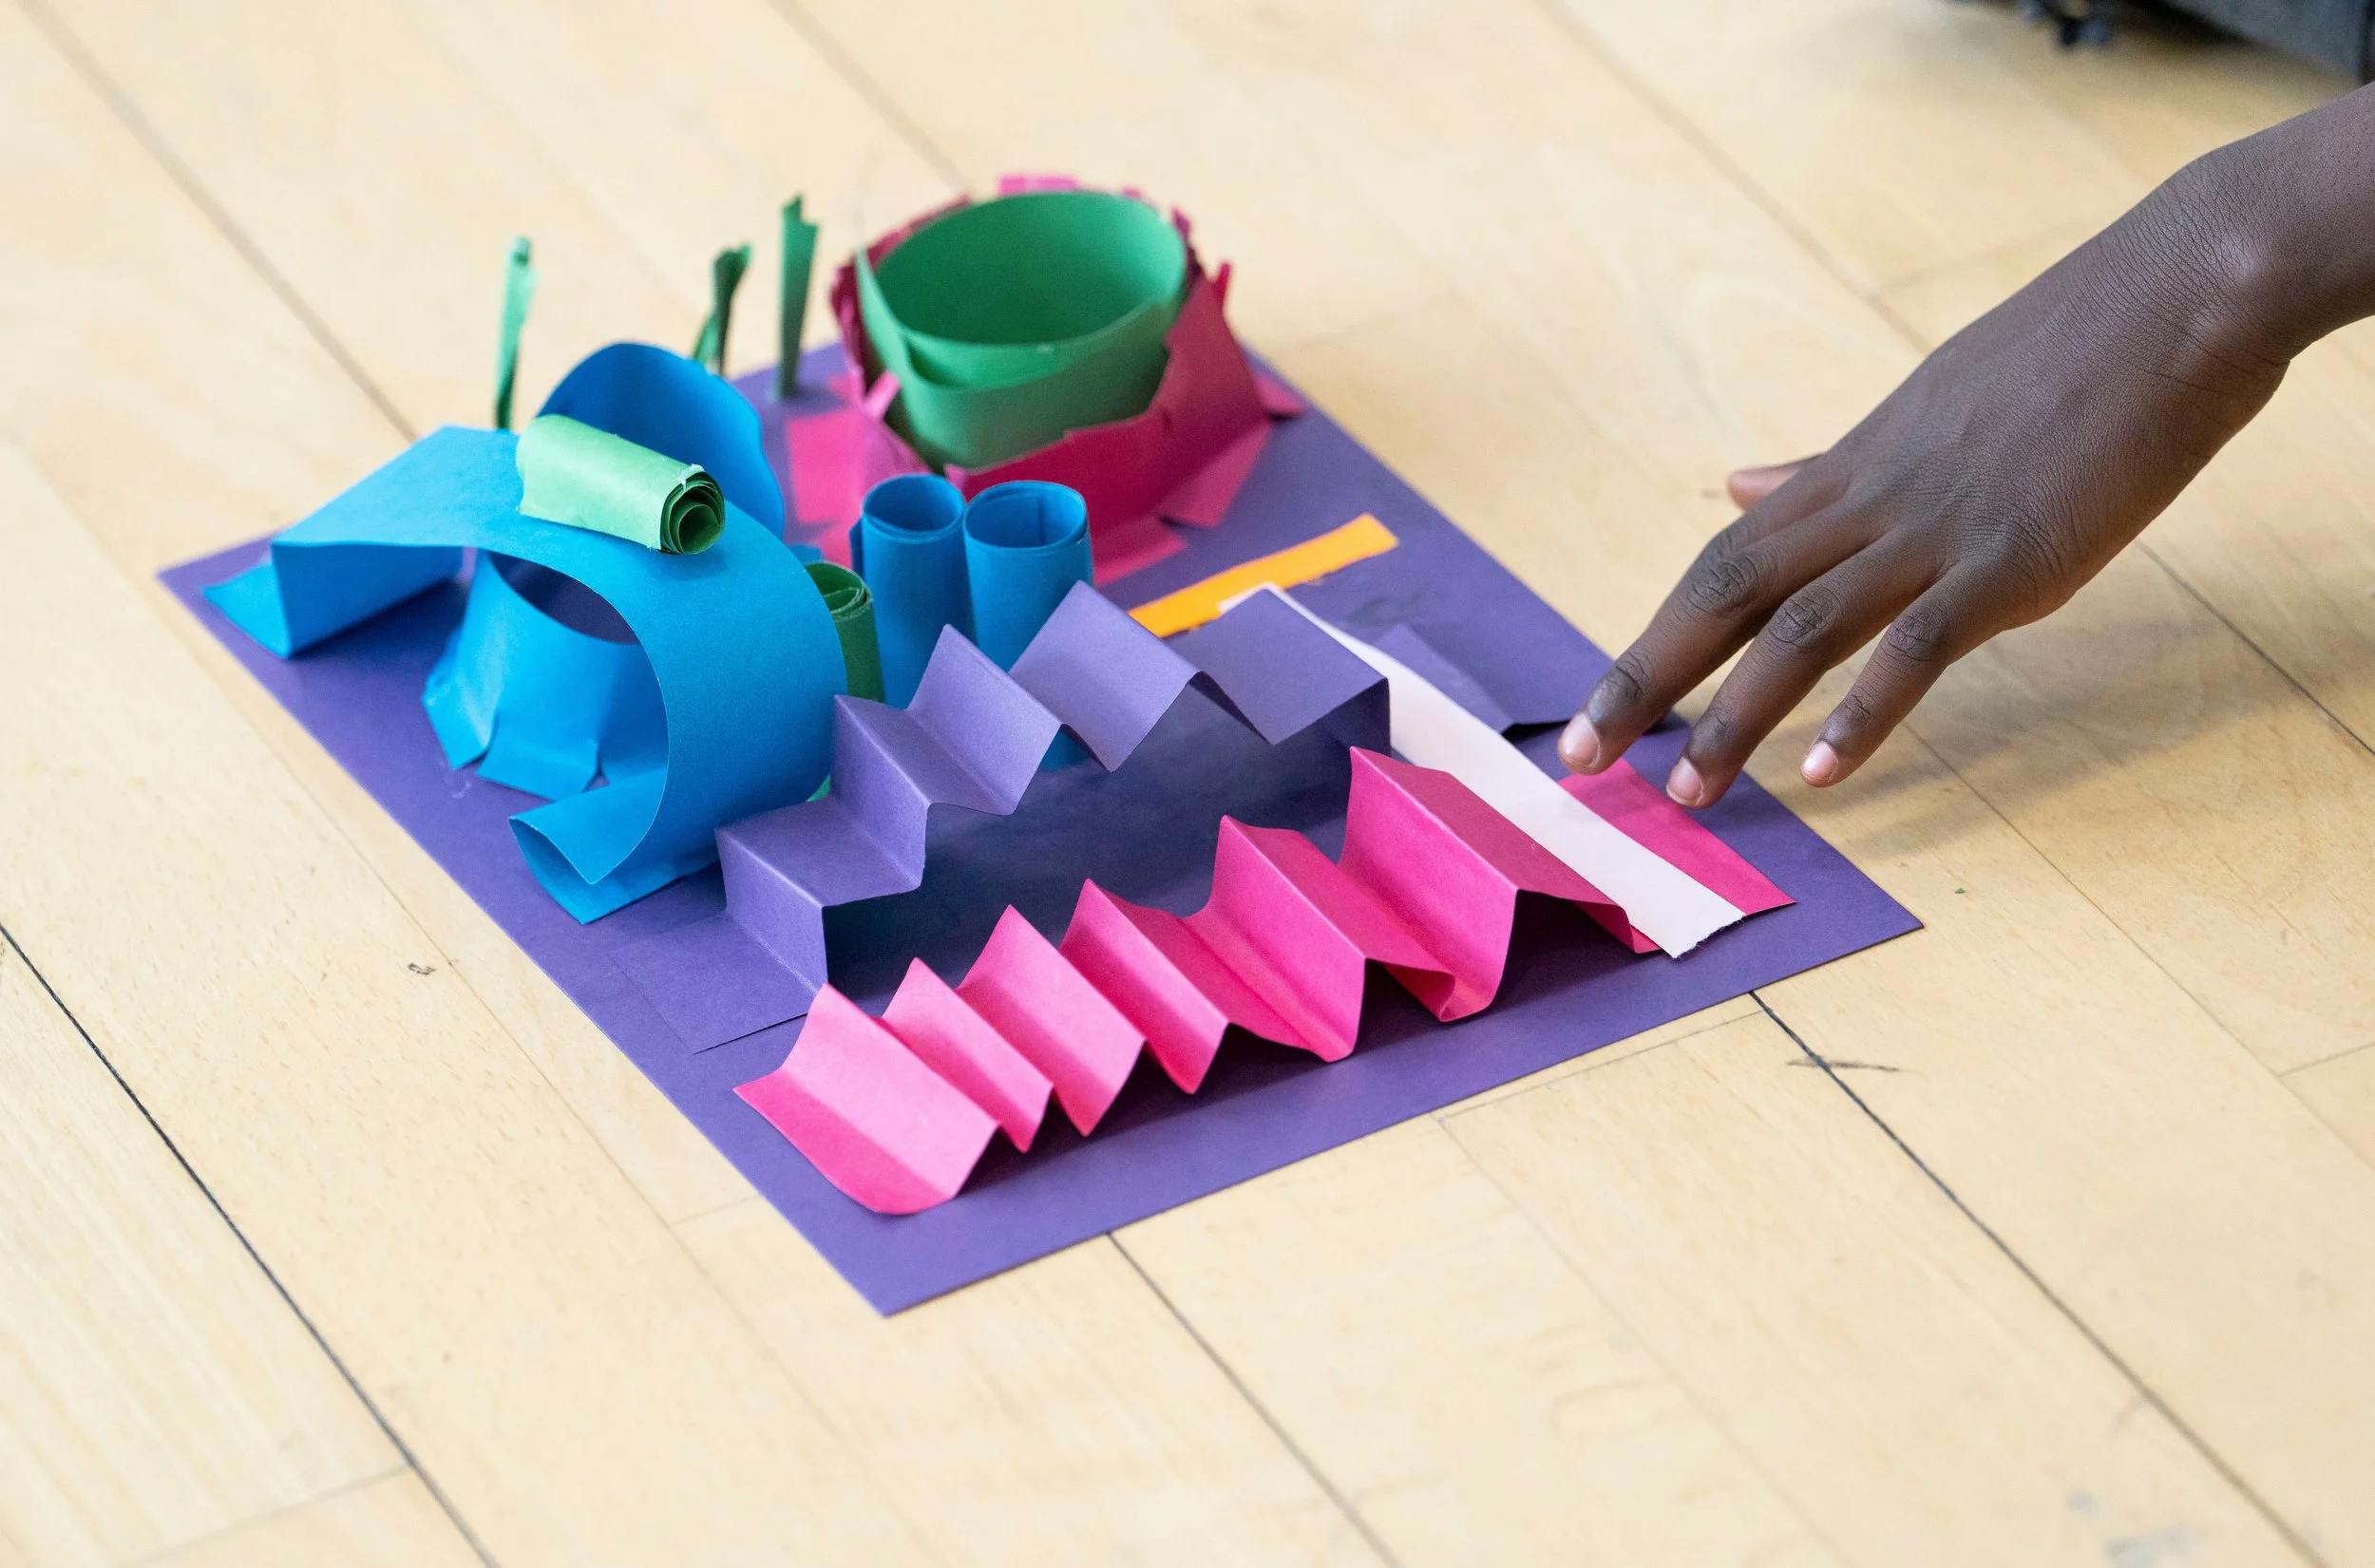
Using shapes and patterns inspired by nature, invent and engineer 3D paper buildings.
-
Pencils, crayons or pastels
Coloured and white paper or card
Tape
Scissors
Natures Patterns Resource (optional)
My Invention Idea Resource (optional)
Digital microscope, magnifying glass or Magnifying Glass + Flashlight app (optional)
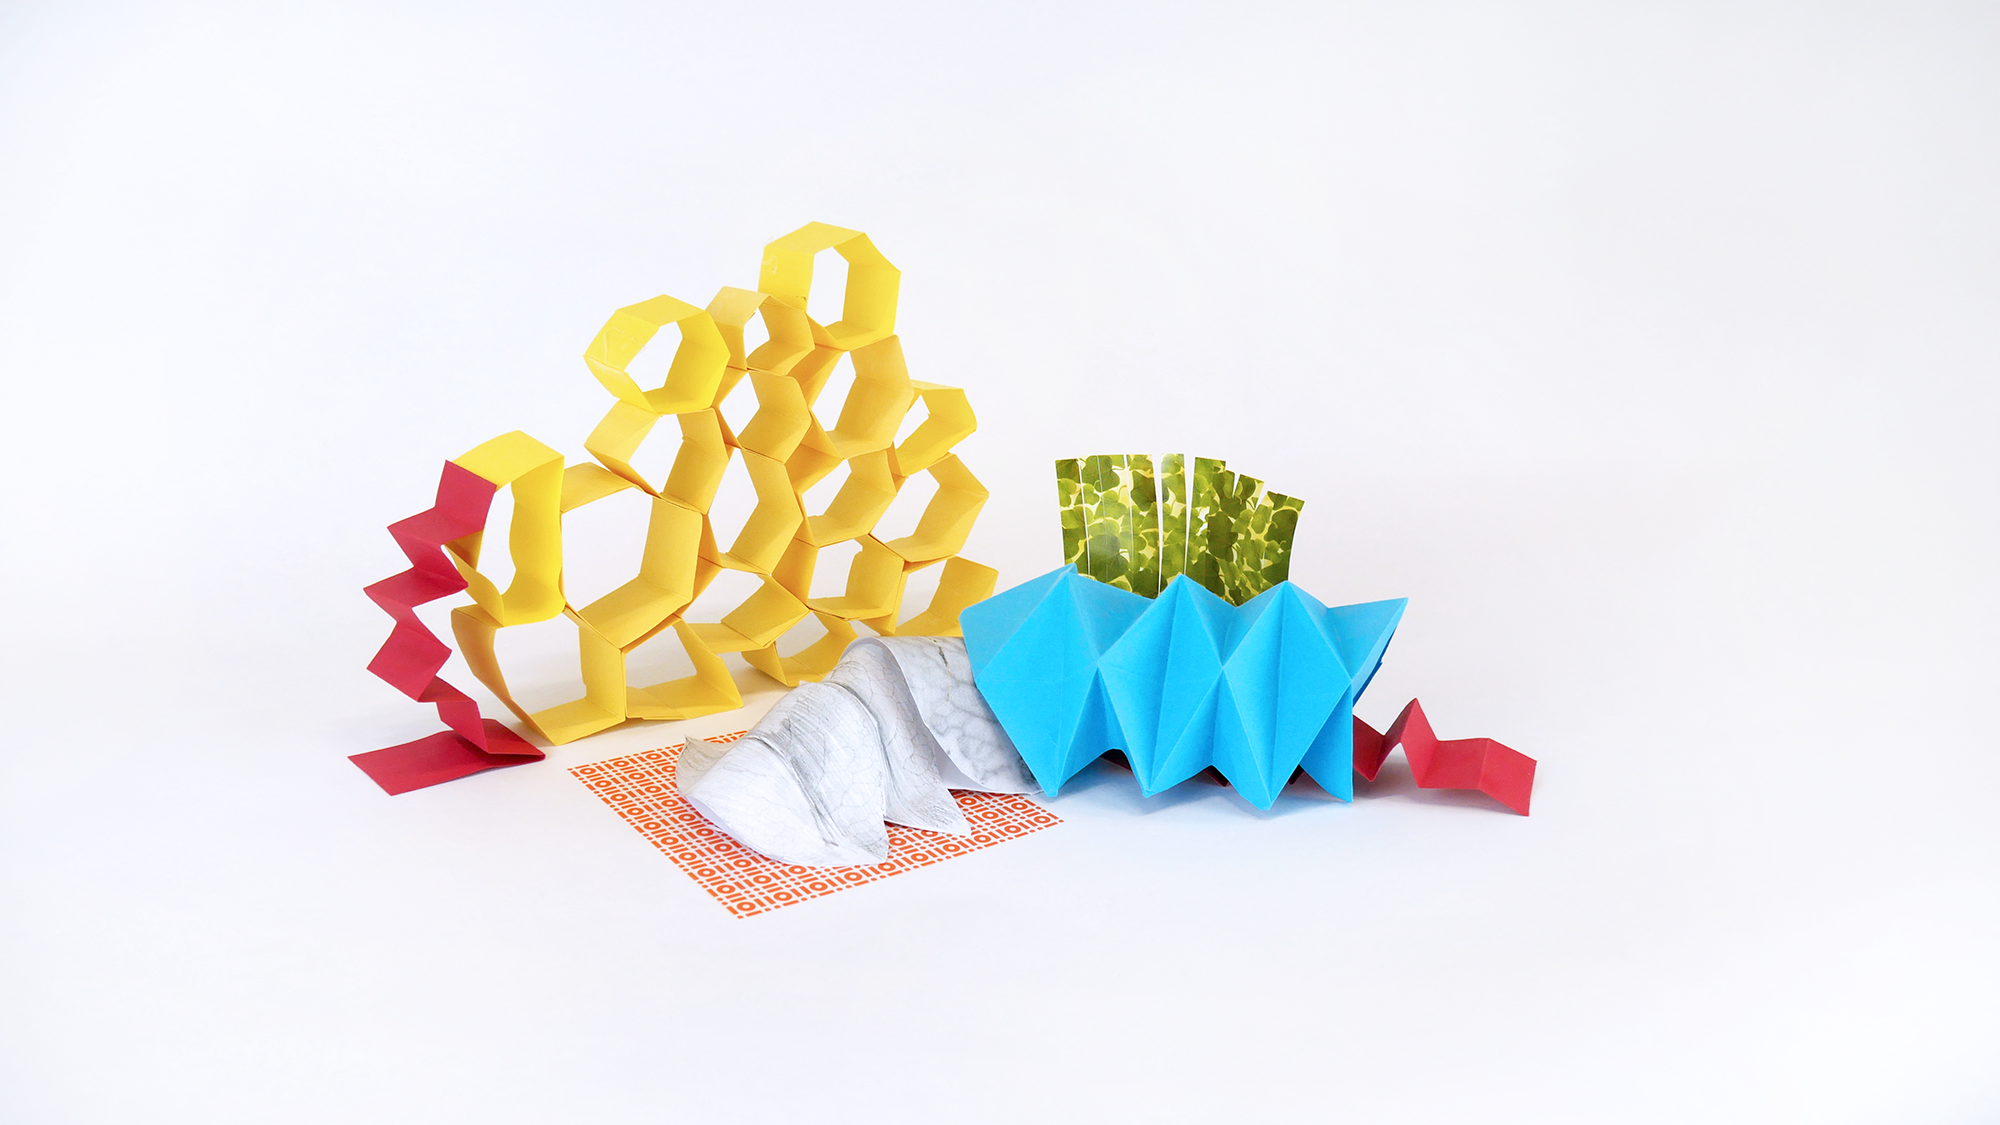
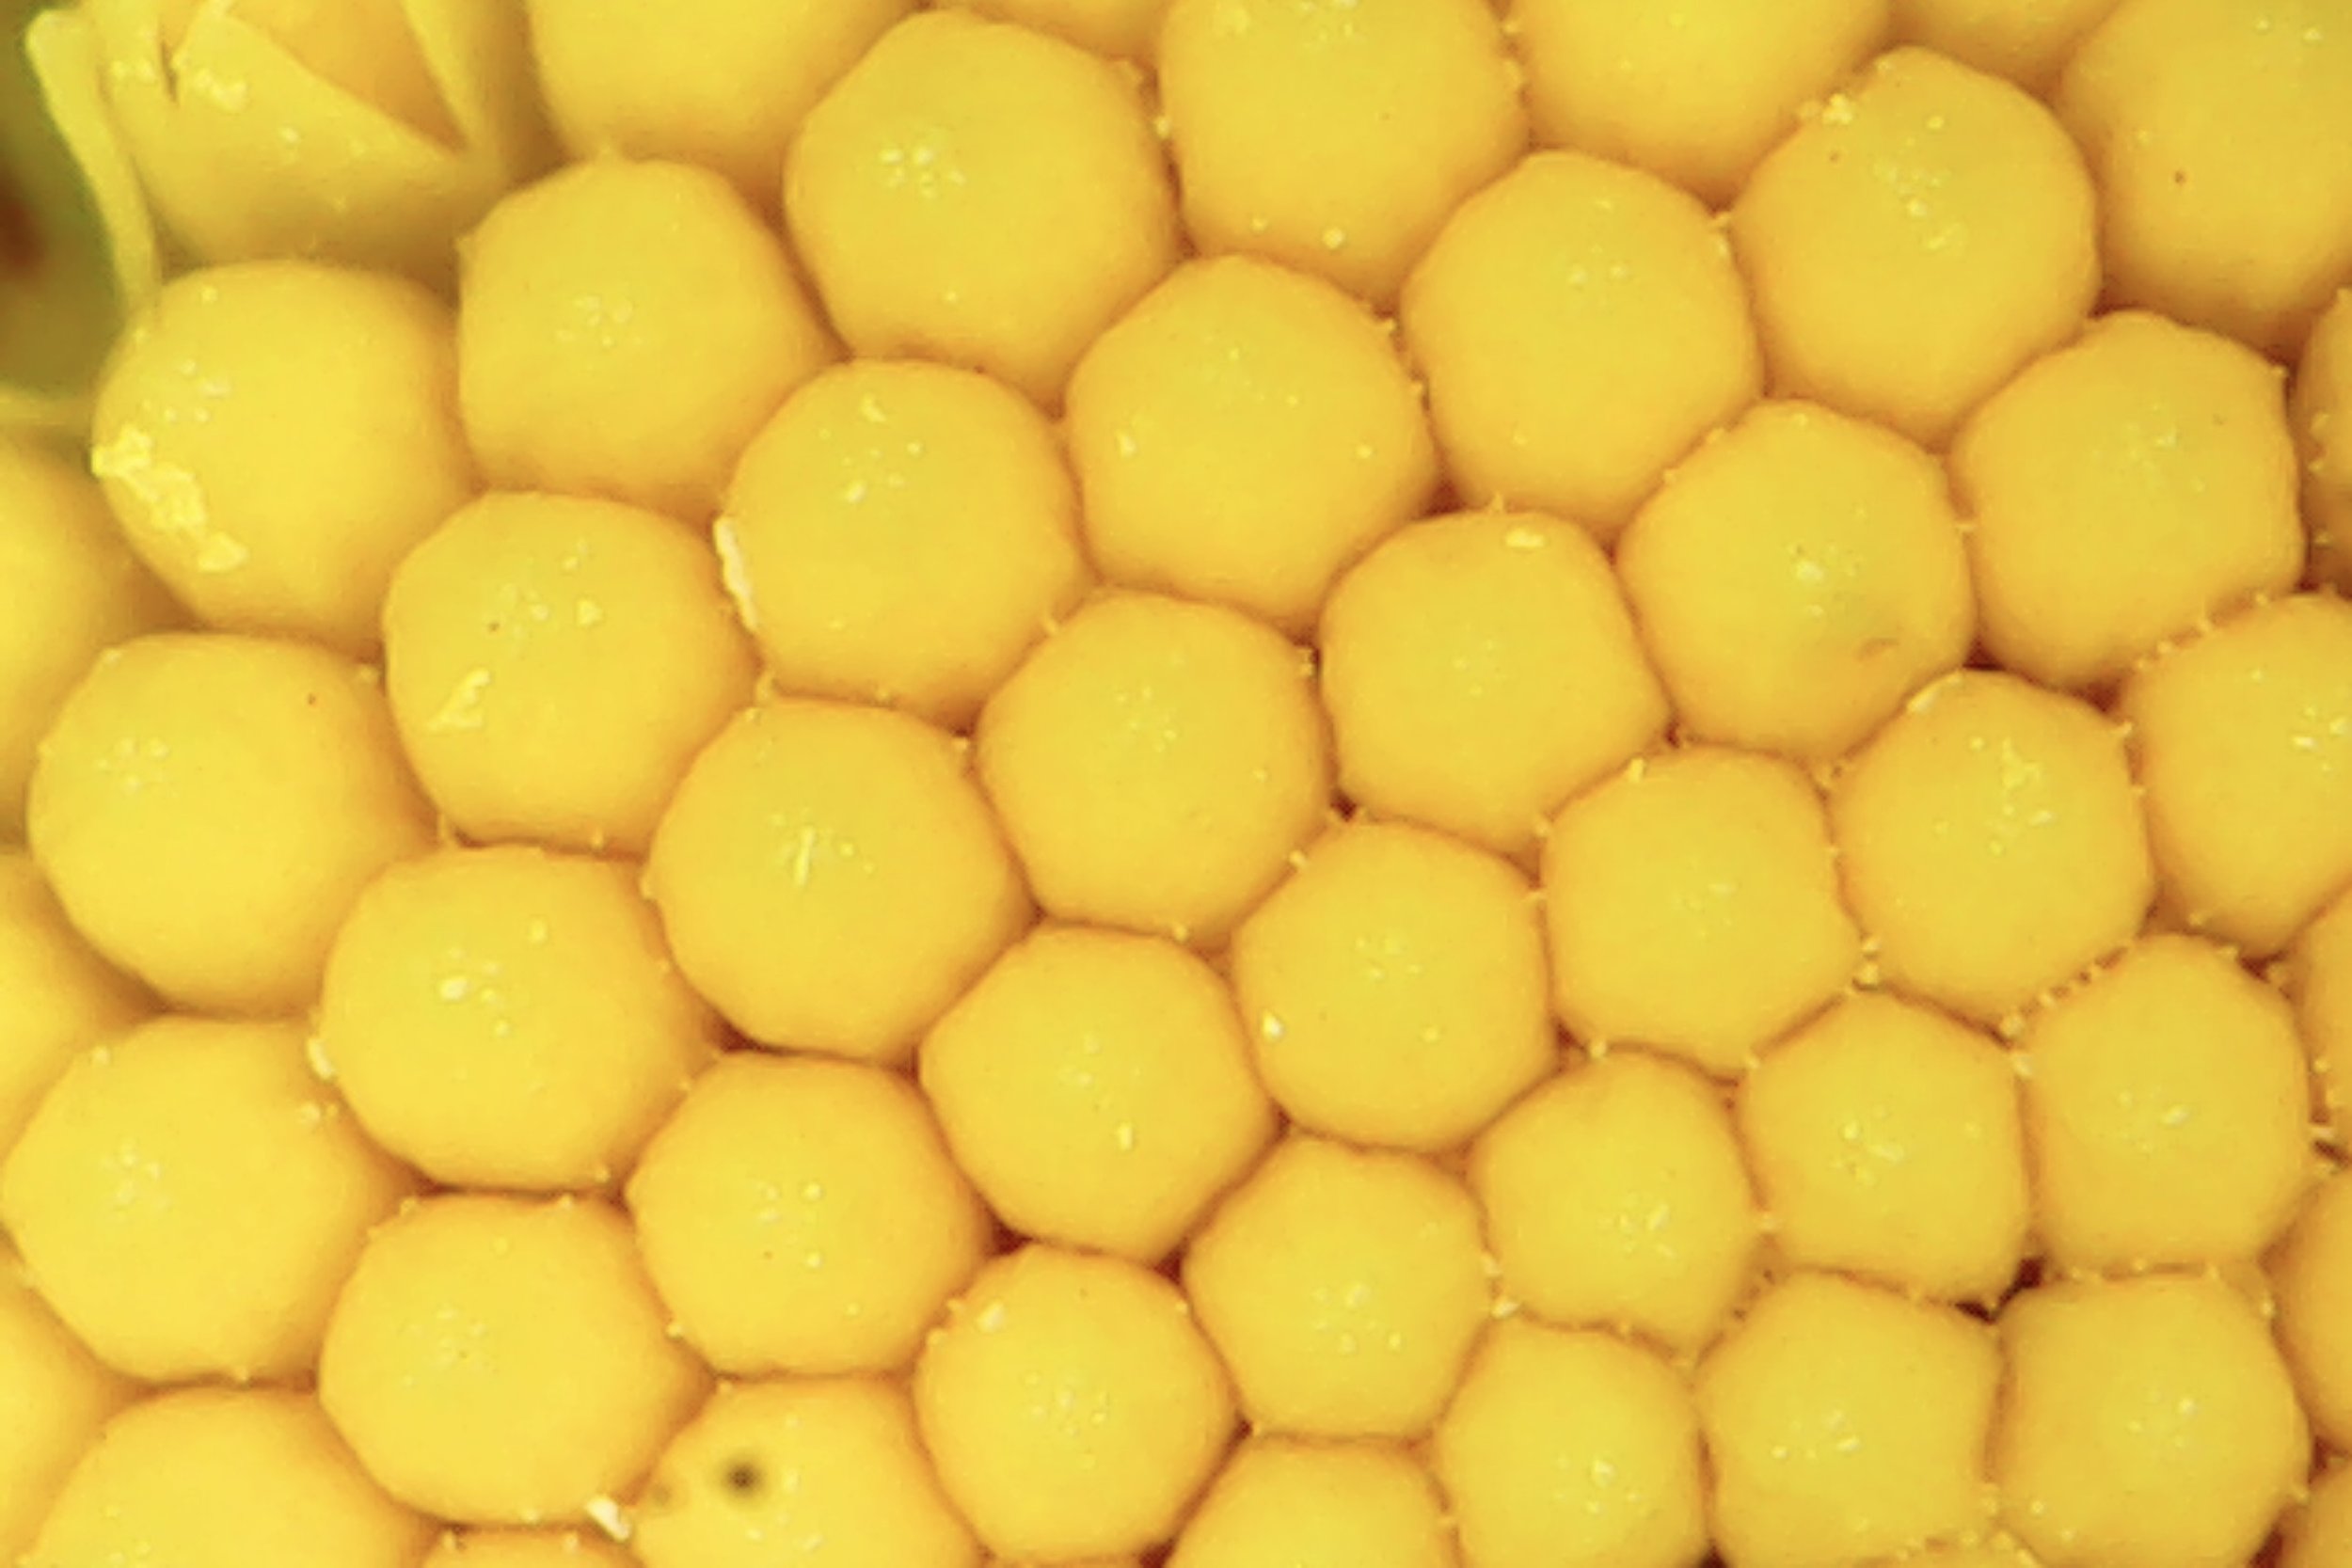
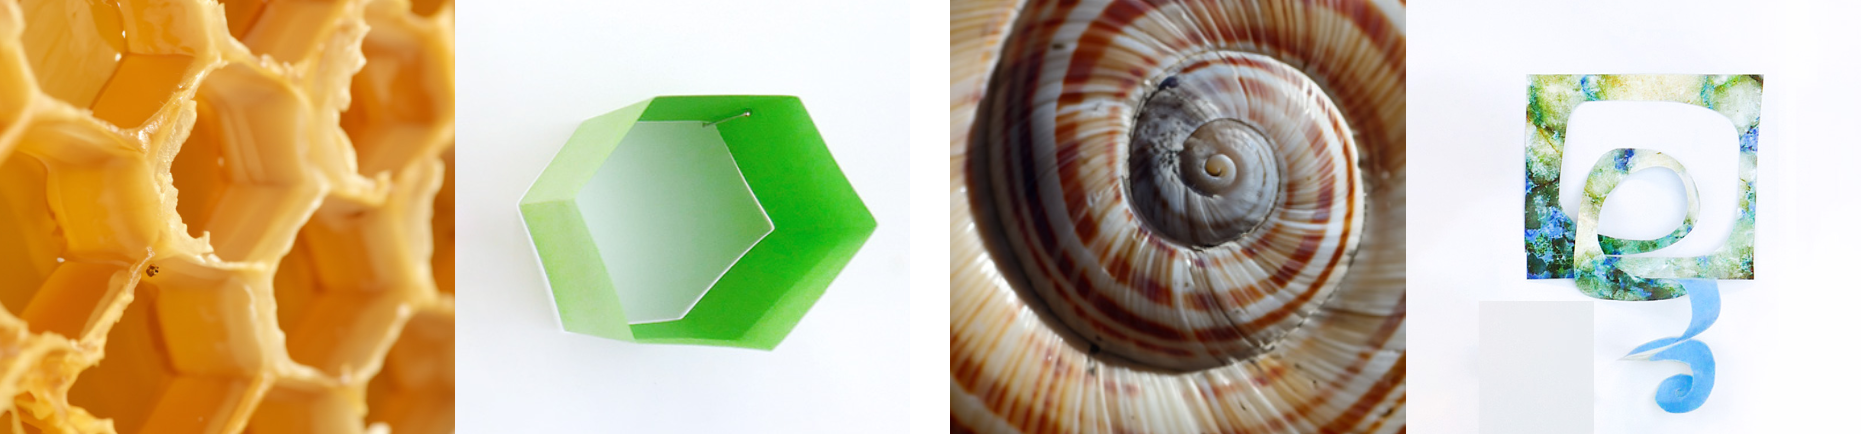
Taking a closer look at nature, we can see it is made out of geometrical shapes, like circles in sliced onions, hexagons in honeycombs, triangles in leaves or spirals in snail shells. Let’s see how we can make your idea into a real 3D paper building.
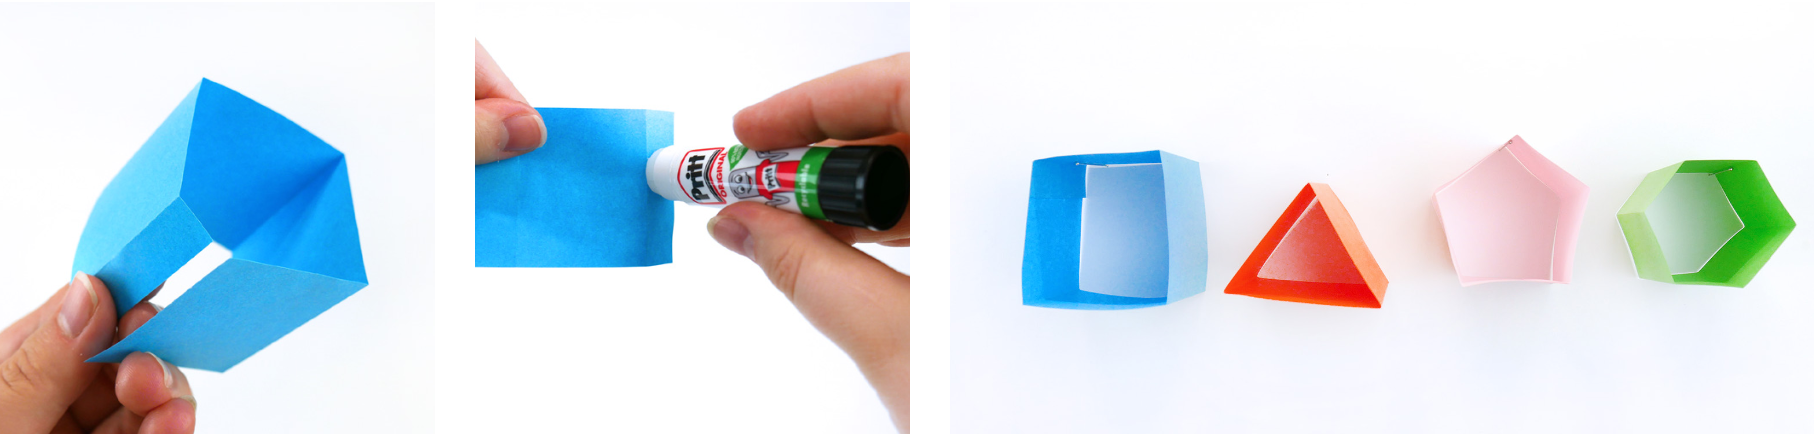
Shapes. Cut a strip of paper. Play with different numbers of folds to change the shape. You will need 3 folds for a triangle, 4 for a square, 5 for a pentagon and so on. Leave a tab at the end to glue this inside the shape.
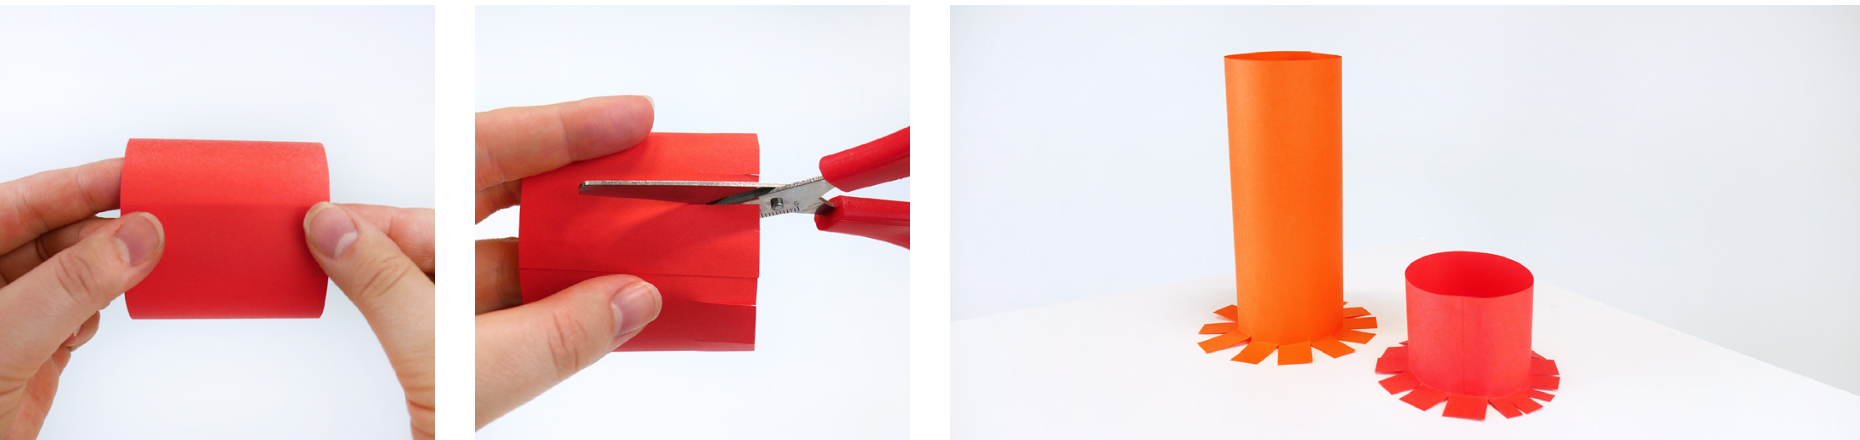
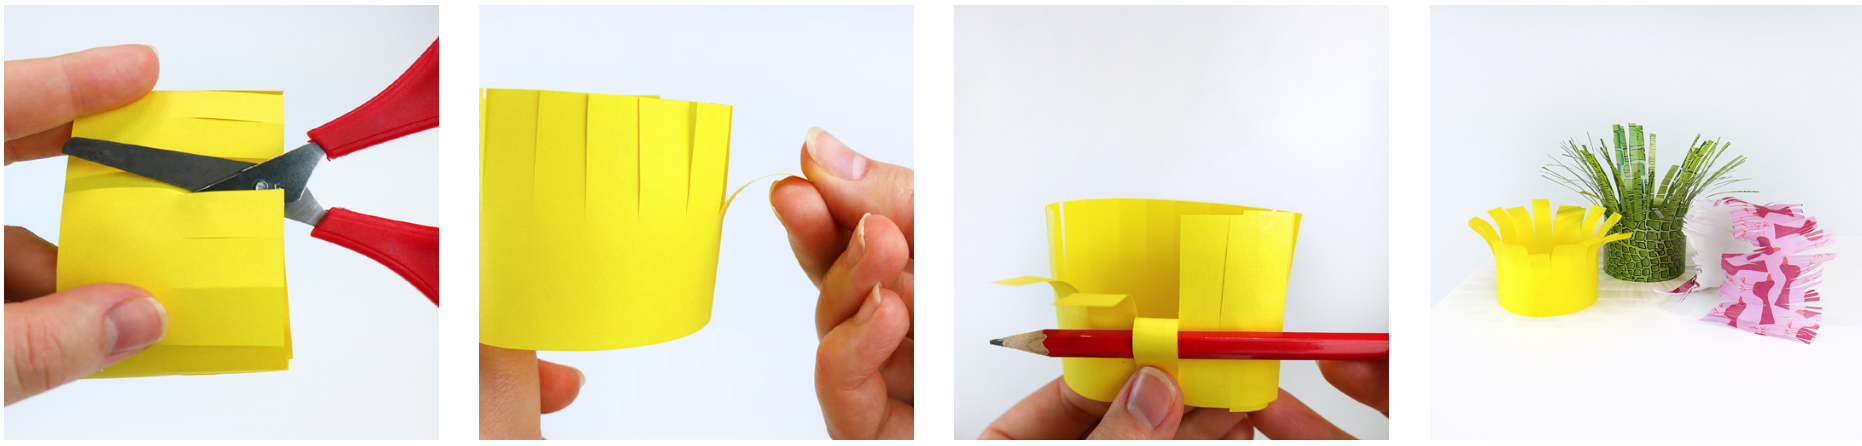
Feet. Most of the objects you will create will need feet! This will turn your city can from 2D (flat) to 3D (upright). You can make slits along the bottom of your shape and glue them down onto a surface.
Fringe. To create a fringe, take a strip of paper and make lots of small cuts 2/3 way down the paper. You can also curl your fringe with a pencil to make grass or maybe a curly bridge.
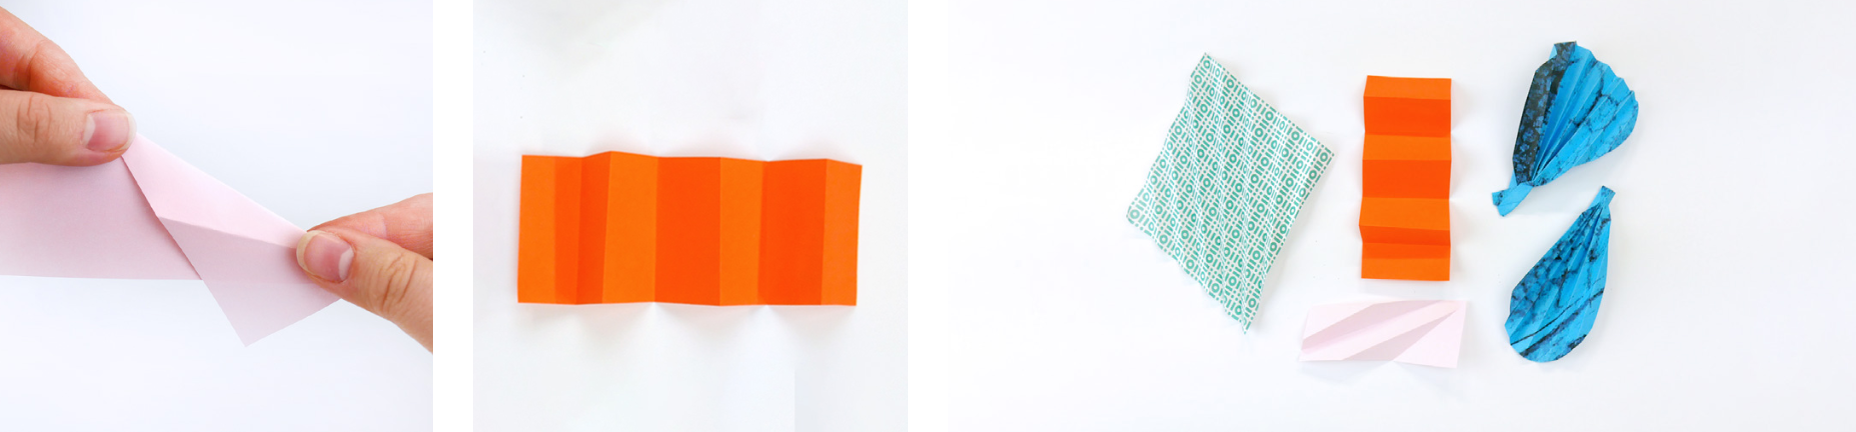
Pleats. Play with with pleats, folding back and forth several times to create interesting structures such as bridges, stairs, abstract buildings or flowers.
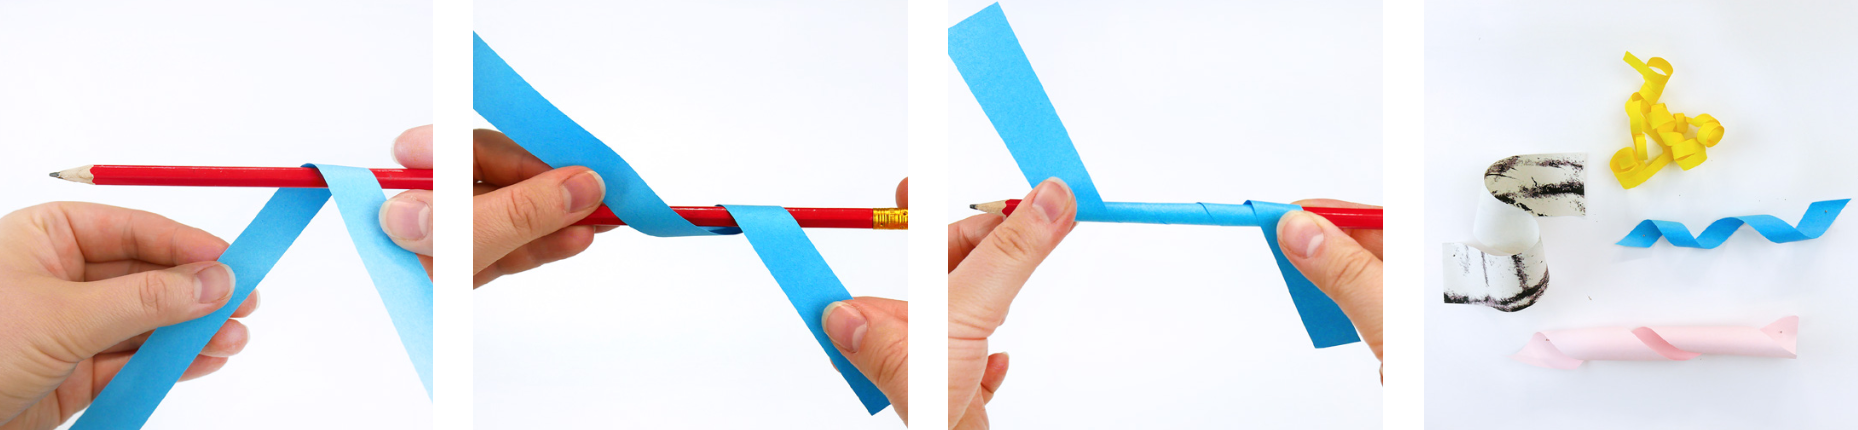
Curls. To create curls, take a strip of paper and tightly curl it around a pencil, then release it and fold the end to glue it down. Experiment with different sizes of paper or angles of curls to create buildings or spiral staircases.
Quilling. This is a paper rolling technique. Make a shape from a strip of paper; it can be anything - circle, square, a heart, etc. Take another strip of paper and roll it tightly. Insert it in the shape you made.
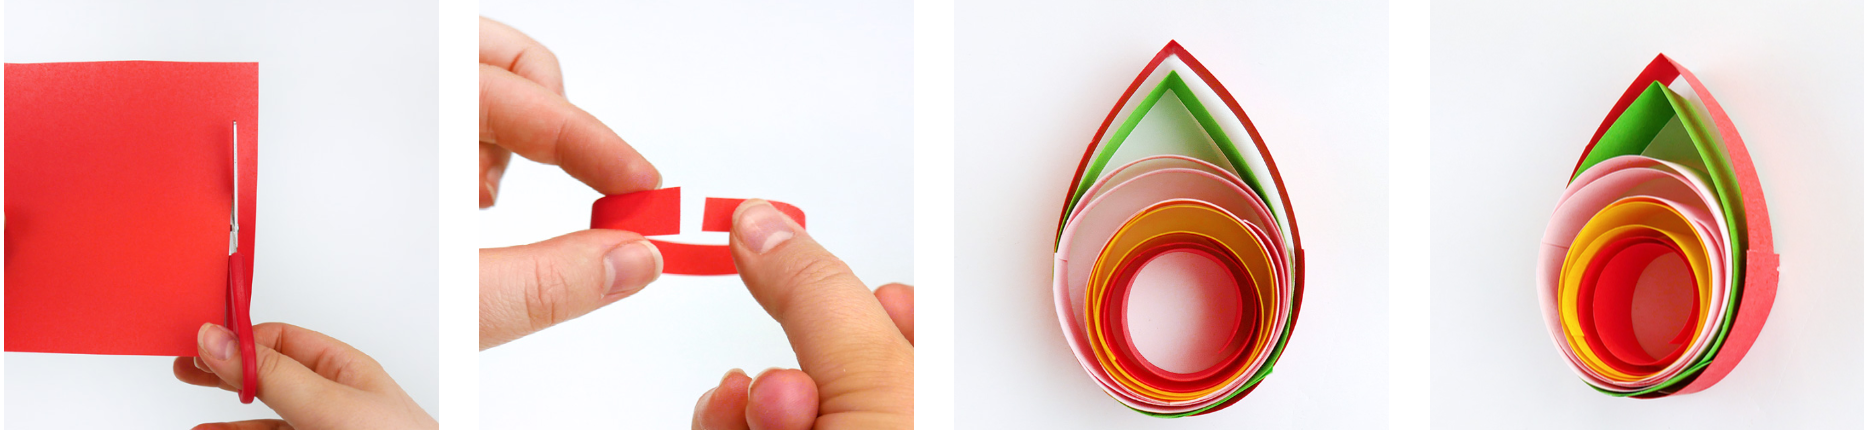
Spirals. These can be created by continuing to cut inside a shape. You can pull it out and stick each end to make it bigger and taller. Take a look at the last page of this resource for inspiration of different techniques.

Now, using the My Invention Idea resource, draw out your idea. Think about the shape, structure and patterns that you could include.